Thursday, September 1, 2011

Introducing the InkShield

Assembled prototype InkShield with printed text
I first introduced this shield two months ago at a Dorkbot Seattle meeting and have since made several revisions which I showed at Ignite Seattle/ ThingOut.

DSCN7348

I have now launched a Kickstarter project to gather backing to launch this product.

This shield allows you to connect a HP C6602 inkjet cartridge to your Arduino turning it into a 96dpi print platform. It only uses 5 pins which can be jumper selected to avoid other shields. It is designed with a Arduino Mega footprint but fully supports both the Arduino and the Arduino Mega. It is designed with all through-hole components to make assembly easy even for beginners.

All source code (both hardware and software) will be fully Open Source and released when the initial production run is completed.

Sunday, August 21, 2011

ThingOut and Ignite Seattle


ThingOut was very cool.  I met a lot of people and explained about RepRap and about my InkShield until my throat was sore.  It was a very warm day and staying fully hydrated was hard.  There was a nice write-up on GeekWire, with my picture at the top. Some of the other people there had things such as:
  • Swamp coolers
    Swamp cooler
  • A rail gun
    Rail gun
  • A yurt
  • A fan powered bike
    Fan powered bike
  • A robot controlled by brain waves (with an emotv headset)
  • Liquid nitrogen powered hovercraft
  • A robot with a Nerf machine gun
  • and more...

This event was followed by Ignite Seattle.  This was a very good set of talks ranging from a one armed juggler who juggled bowling balls (YES, TWO bowling balls with ONE arm!!!) to a talk about crowd control, one about record collecting, and many more.

DSCN7262

All around this was a very fun event and I plan to attend both again in the future.


There are more pictures on my Flickr set.


Sunday, June 12, 2011

Graduation or "now what?"

My graduation souvenirs


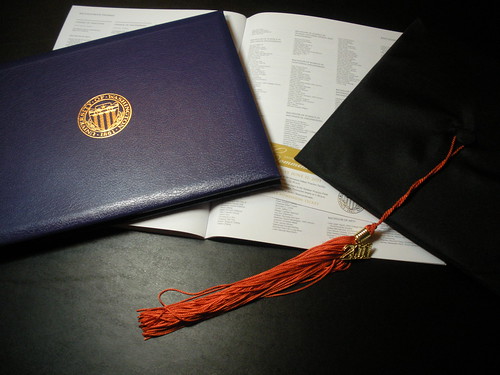
Last Friday, June 3rd, I took the last test for my Bachelors of Science in Mechanical Engineering.  It went well and I then went to a wedding on Saturday followed by a week of just work.  I am used to a week off between quarters but this time it was different.  This time it was not just a week off, it was the first week of the rest of my life after my college degree.  It has been strange...

I can think of some other words to describe it (although none quite fit):
  • Surreal
  • Happy
  • Sad
  • Freedom
  • Clarity
  • Confusion
  • Relief
  • Pressure
  • and many more...
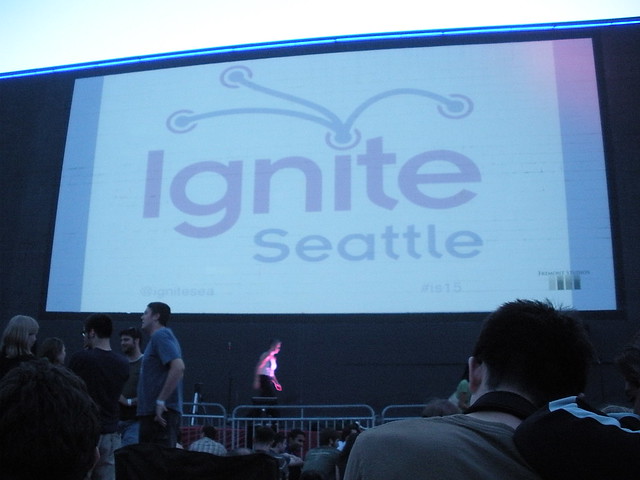
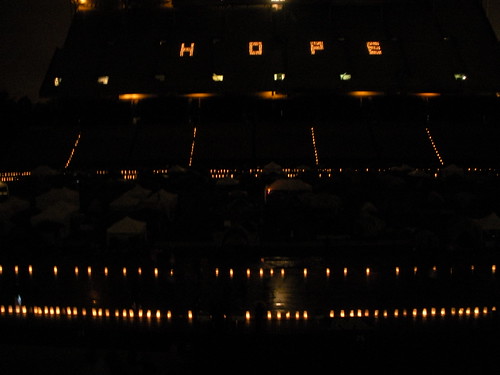
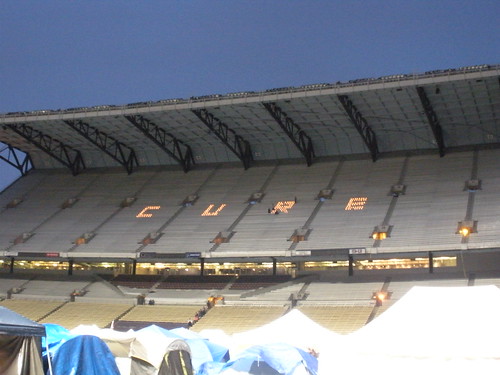
It has clearly been an emotional week with many contradictions.  But that all led to two amazing graduation ceremonies.  The first was the huge ceremony at Husky stadium and the second was a much smaller Mechanical Engineering department ceremony.  Both were unique and I am glad to have participated in them.  I then had a party at my house with family.

Now as I settle in to this coming week I am starting to ask myself "now what?"  I have been doing this for a long time.  I have many things that were put on my "after I graduate" list and know generally what I am doing now but it is still very strange...

I will leave you with the list of things I am doing in the next few weeks and we will take it from there:

Sunday, May 22, 2011

UW Relay for Life 2011

Last night I participated in the UW Relay for Life.  It was a fun experience, however it would have been better if more people I knew had been there.  I raised $80 and walked 60 laps (15 miles).  I did not end up staying through the entire event because I wore myself out walking so much.  I was there from 2pm-midnight.

Luminaria

DSCN6558

Luminaria

Luminaria

Luminaria

More pictures here

Tuesday, May 17, 2011

DIY Inkjet Printer

Close-up of carriage

This quarter at the UW we produced some documentation on the development of a DIY inkjet printer.  This was partly in response to the fact that there are no DIY inkjet kits available.  There was a kit available from Parallax however it is no longer made and the main book that was written to go with it is now out of print.

The goal of this project was to develop a low cost, open source inkjet printer utilizing standard inkjet technology, for personal use. This project was partly in response to the fact that there are no DIY inkjet kits available. There was a kit available from Parallax parallax.com/dl/docs/prod/robo/InkjetKitDocs-v1.0.pdf. This kit is no longer made and the book amazon.com/Inkjet-Applications-Matt-Gilliland/dp/0972015930 that was written to use that kit is now out of print.
The prototype design used a carriage assembly constructed from steel rods that were assembled using connectors that can be printed on an FDM machine. The entire carriage system is driven along the x-axis by a belt attached to a stepper motor. The print cartridge, taken from an HP point of sale printer, is driven along the y-axis by another stepper motor belt drive. The electronic controls use an Arduino Mega to run all of the printing systems.
The design resulted in a working prototype that fulfills all of the design constraints. The rod frame carriage design is lightweight, easy to assemble and easy to integrate with the other systems. The Arduino used in the electronics has a large library of resources available to perform things like LCD, SD card, and stepper control.
Areas where future work should be focused include making molds and casting printable parts to bring down the overall cost, developing host side software, and optimizing the speed.

The documentation is being released as a thing on Thingiverse, a photo album and a video.

Wednesday, April 6, 2011

The McCormick Code - help the FBI

The FBI currently is asking the public for help in deciphering these paper that were found on Ricky McCormick's dead body in 1999.  I first read about this on PhysOrg and then read the FBI's original write-up.  I felt that maybe I could crack the code but that the chances would be much better if a very large group of people worked together to solve it. Therefore I chose to start a wiki as a tool for collaborative work by anyone and everyone. It is my hope that this will allow us to help the FBI solve this decade old mystery.


This wiki site was started to have a central location to discuss and work on decoding the McCormick Code.  I have setup a Forum and a Theories page to start. I would like to see a page setup for any theory that is come up with. From there it will evolve and grow.

If you think you can help or are just curious please visit, sign up, and help crack the code.  If you have information and want to contact the FBI directly they have a dedicated tip line.

Sunday, April 3, 2011

The history of AdderFab

AdderFab

For those interested in more information about AdderFab and what led up to its creation there is a write-up on Open3DP.

AdderFab is the combined result of three separate Capstone student design teams over a span of over four years.   The original name of the project was P3P (personal 3D printer).

I have also created a picture set on flicker.
AdderFab